
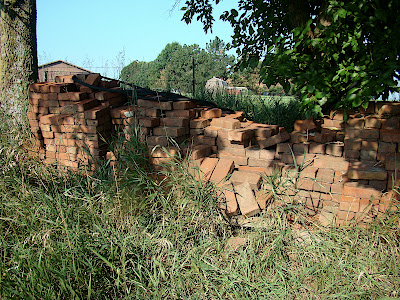
This story begins with a nice pile of bricks. A pile of bricks that our family salvaged from an old sidewalk in town which ran in front of my friend Kara's house. Kara was having a new sidewalk put in and called to let me know that we could take the old bricks out of her sidewalk before the concrete truck arrived - if we still wanted them. We did want them and spent the next two weekends digging the bricks out of her old sidewalk, loading them into the back of the pick-up, driving them out to our building site, and unloading them.
After the immense effort of moving those bricks, I am sorry to tell you that we grew a bit prideful of them. Nevermind the new house, the quaint barn, the view, the pond and the shiny new kitchen cabinets... WOULD YOU LIKE TO SEE OUR SALVAGED BRICKS?
Because we salvaged them...
Because we salvaged them...
OURSELVES...
WITH OUR OWN HANDS!!!
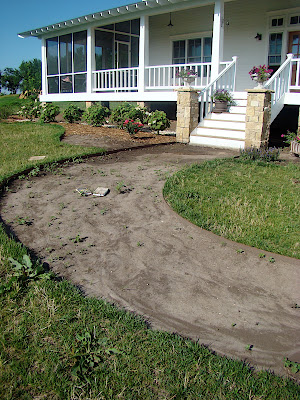
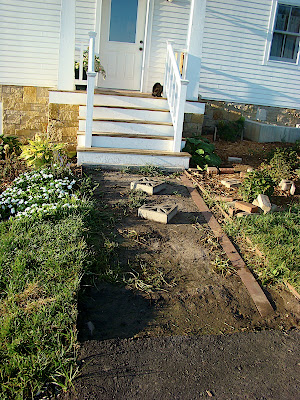
This is what our sidewalk looked like back when I was having a delirious visit from Beverley Nichols, my favorite garden author.
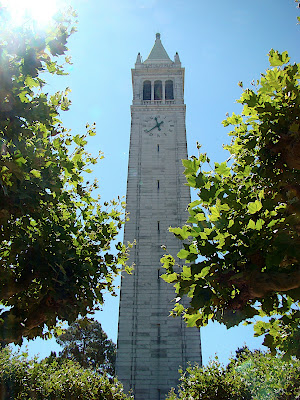
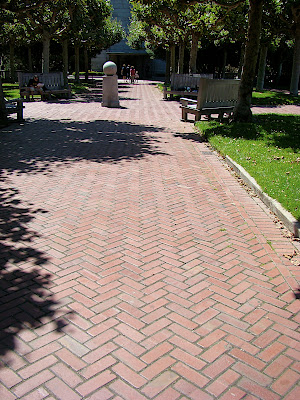
In the shadow of a tall clock tower were bricks in a herringbone pattern. We thought if it was good enough for Berkeley, it was good enough for us.
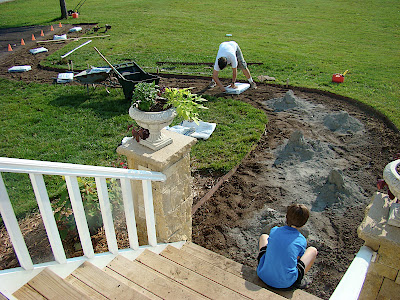
Back home, the Country Doctor, tilled up the dirt in the sidewalk.
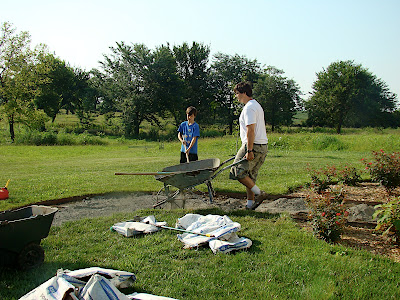
Mixed in some cement.
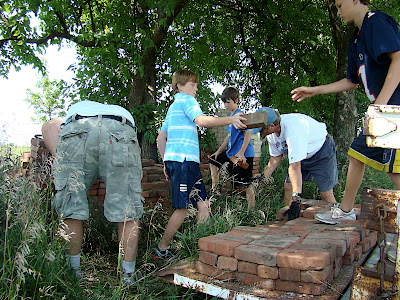
And then we had to move the pile of bricks from behind the house to beside the pathway.
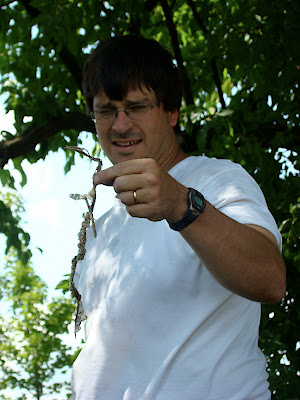
I was further vindicated when the Country Doctor found a snake skin.

The bricks were unloaded in various piles around the pathway. You can see here the sand and the screed that the Country Doctor built to smooth out the surface evenly before setting the bricks in place.
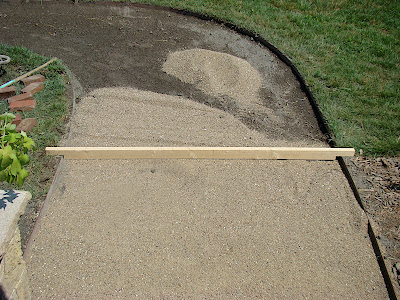
Here's the screed again...
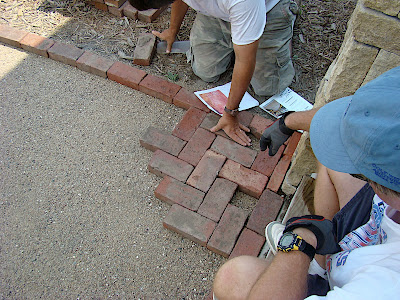
The Country Doctor lined both edges of the pathway with bricks placed end to end, and then he started working on the herringbone pattern.
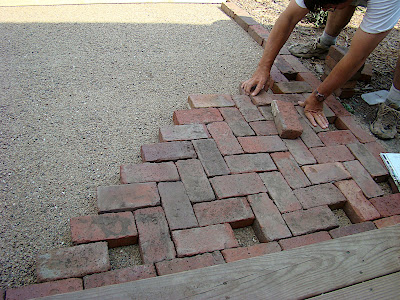
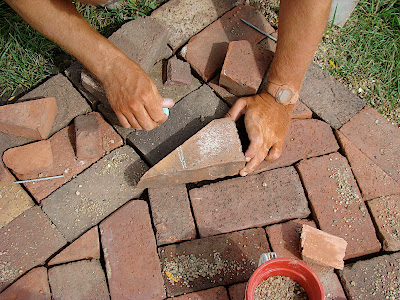
It was about here that we realized how many bricks we were going to have to cut to make this pattern work.
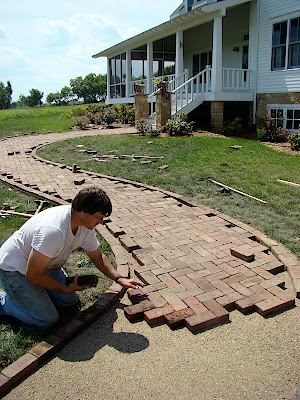
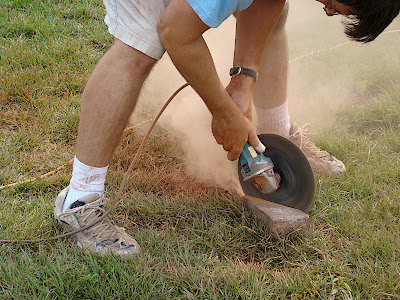
And right about here, we realized that we would be cutting bricks to fill in the holes in this pathway for the rest of our lives.
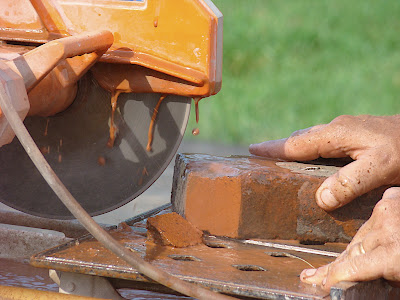
And when I say "we would be cutting bricks" ....
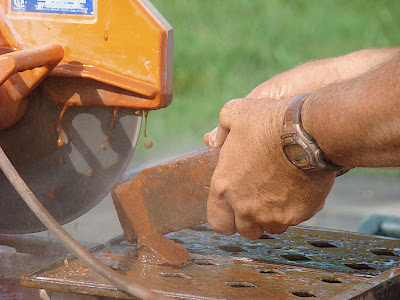
I actually mean "the Country Doctor" would be cutting bricks.
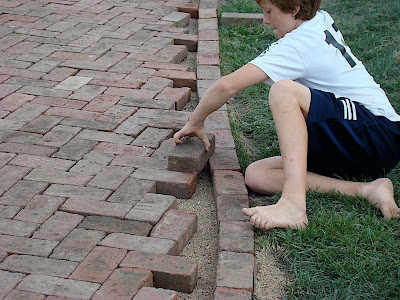
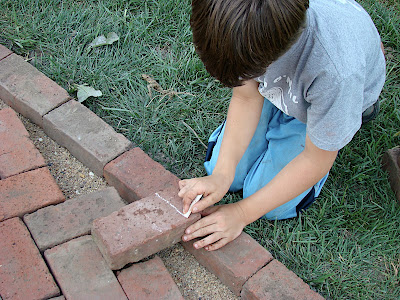
Here is Drew marking chalk lines on the bricks to show their dad where to make a cut.
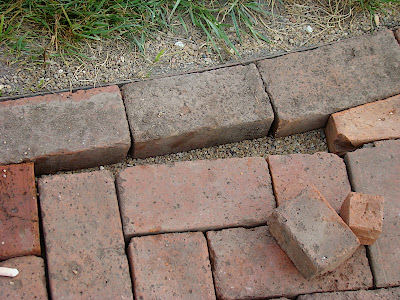
The thousands and thousands.....
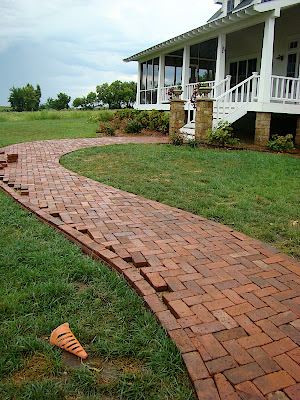
And millions and trillions of precise brick cuts...
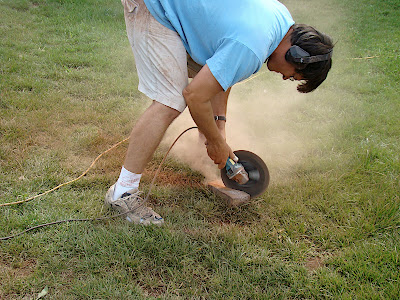
Eventually, the Country Doctor wore out the blade on the big saw and for the last twenty odd cuts he used a hand saw.
This is the last brick!
This is the last cut!
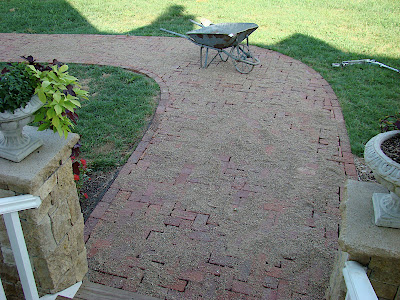
But it isn't over yet.
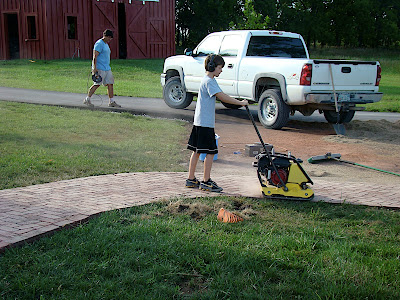
And using one of these thingys to... to... Heck I have no idea what that machine does.
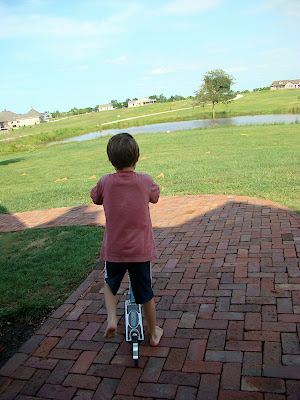
Jack gave the new/old sidewalk a test drive.
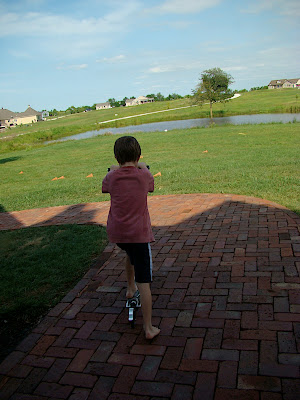
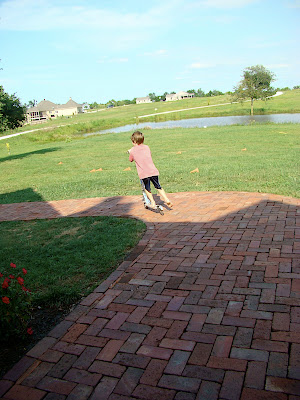
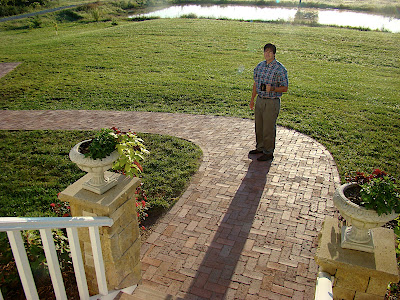
Here is the Country Doctor standing on his new brick pathway.
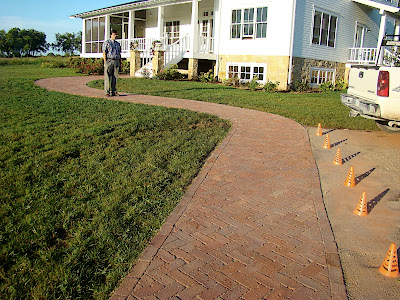
Nice job Honey!
And this makes us much better than most people on earth. Because WE ARE SALVAGERS...and EVERYONE in AMERICA knows that re-using old building materials is what makes you closest to God these days.
This is what our sidewalk looked like back when I was having a delirious visit from Beverley Nichols, my favorite garden author.
Over the course of the summer, the only thing that changed in this path was that the weeds got taller and taller and taller. I am very glad Beverley was not around to see that happen.
One of the reasons for the delay, was that we needed to pick a pattern in which to lay the bricks. While on the UC Berkeley campus - we found our inspiration.
In the shadow of a tall clock tower were bricks in a herringbone pattern. We thought if it was good enough for Berkeley, it was good enough for us.
Back home, the Country Doctor, tilled up the dirt in the sidewalk.
Mixed in some cement.
And then we had to move the pile of bricks from behind the house to beside the pathway.
I did not help with this step as I had seen a black snake crawl out of this pile of bricks earlier that summer and had no interest whatsoever in seeing him again.
I was further vindicated when the Country Doctor found a snake skin.

The bricks were unloaded in various piles around the pathway. You can see here the sand and the screed that the Country Doctor built to smooth out the surface evenly before setting the bricks in place.
Here's the screed again...
At least I think it is called a screed.
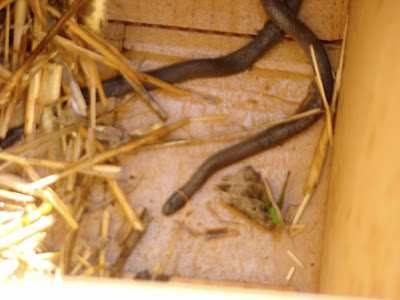
And here is a live snake they found in the brick pile.
The Country Doctor lined both edges of the pathway with bricks placed end to end, and then he started working on the herringbone pattern.
It was about here that we realized how many bricks we were going to have to cut to make this pattern work.
And right about here, we realized that we would be cutting bricks to fill in the holes in this pathway for the rest of our lives.
And when I say "we would be cutting bricks" ....
I actually mean "the Country Doctor" would be cutting bricks.
Because my hands started to sweat buckets every time I watched my husband slice one of those bricks in half. I eventually had to retreat to the porch and sit there helplessly, fanning myself with a wide brimmed straw hat, saying things like "I do declare!" and "Glory be!" and "Heavens to Betsy!"
Besides, why exactly did I have all these boys, if not to help their father build a brick pathway?
Here is Drew marking chalk lines on the bricks to show their dad where to make a cut.
The thousands and thousands.....
And millions and trillions of precise brick cuts...
Eventually, the Country Doctor wore out the blade on the big saw and for the last twenty odd cuts he used a hand saw.
This is the last brick!
This is the last cut!
But it isn't over yet.
I was able to help the Country Doctor spread a fine layer of sand over the sidewalk as there were no snakes and no saw involved. But I did have to take frequent breaks to drink my coffee, admire my roses, practice some modern dance steps on the sweeping front lawn and oh yeah... take some pictures....
HEY! SOMEONE HAS TO TAKE THE PICTURES!
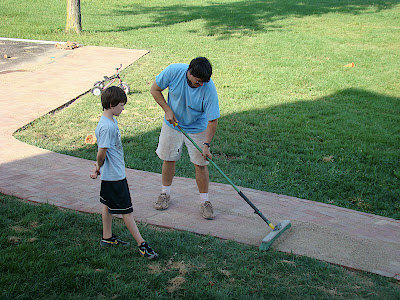
The final step involves sweeping the sand into all the cracks and crevices in between the bricks...
And using one of these thingys to... to... Heck I have no idea what that machine does.
Jack gave the new/old sidewalk a test drive.
Here is the Country Doctor standing on his new brick pathway.
Nice job Honey!
Now honey... we have to get that other sidewalk done.
Honey?
Dear?
Honey?


